> ## Documentation Index
> Fetch the complete documentation index at: https://docs.payingame.io/llms.txt
> Use this file to discover all available pages before exploring further.
# Create a project
> A Project is a container that will contain different products. For example, it can be a name of your game. This allows you to group your products per game title.
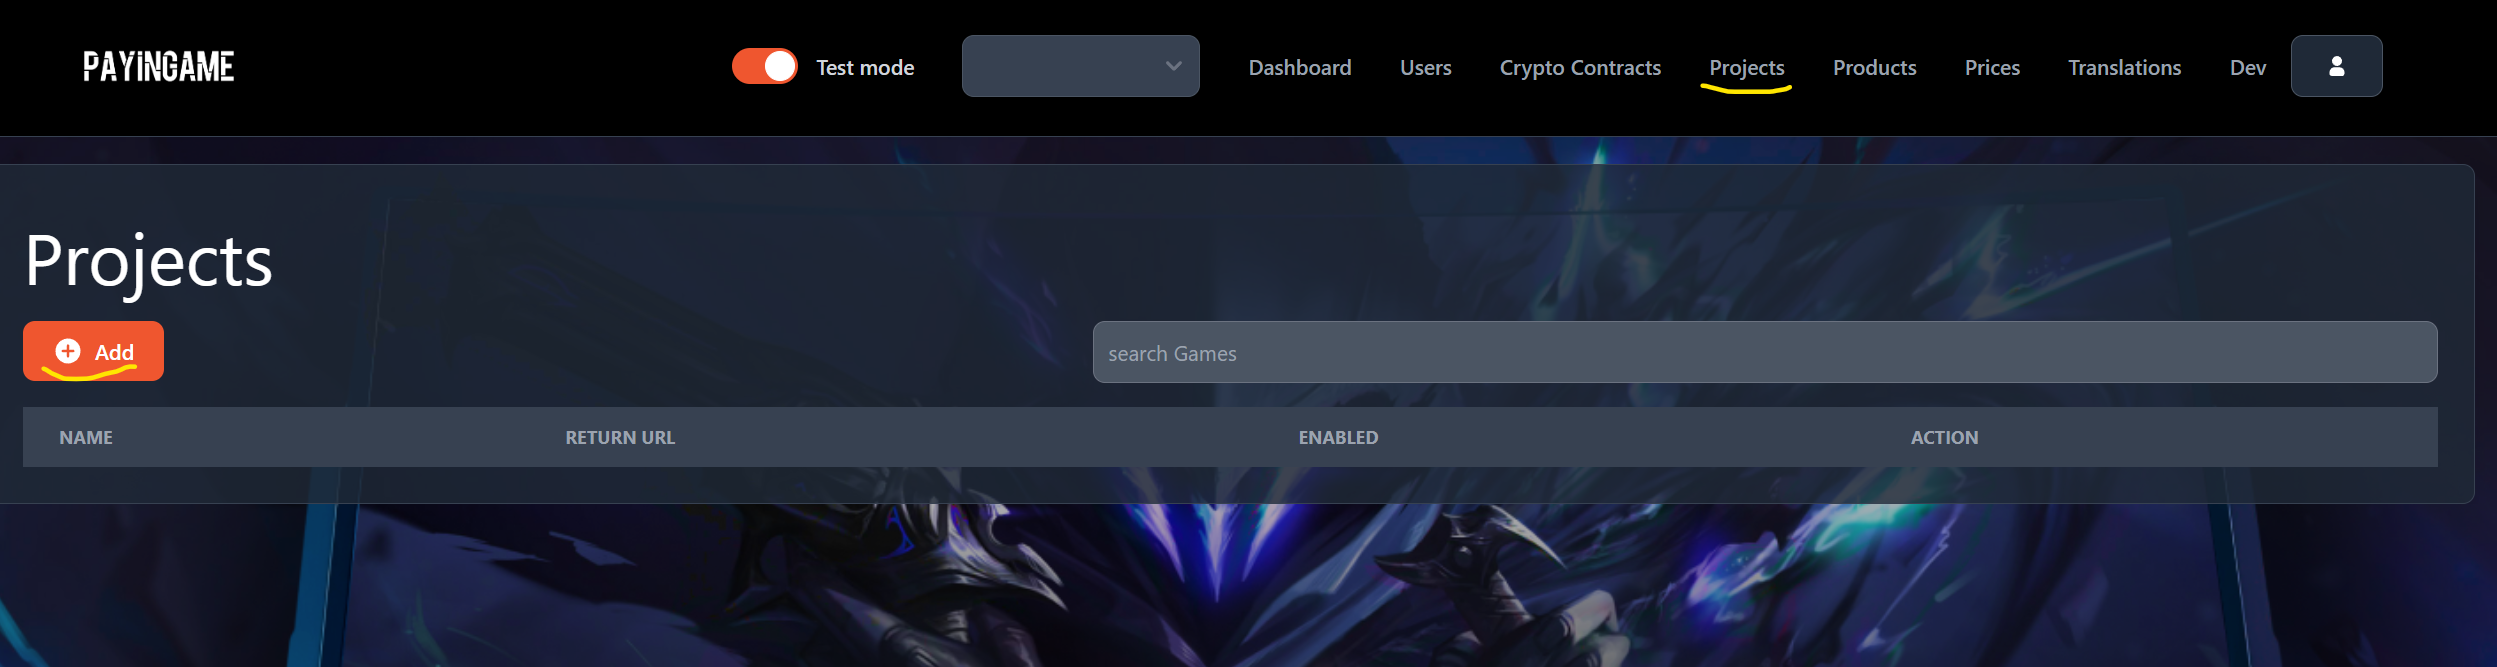
To create a project, go to the "Projects" item in the header and press on "Add"
 You will see the following popup:
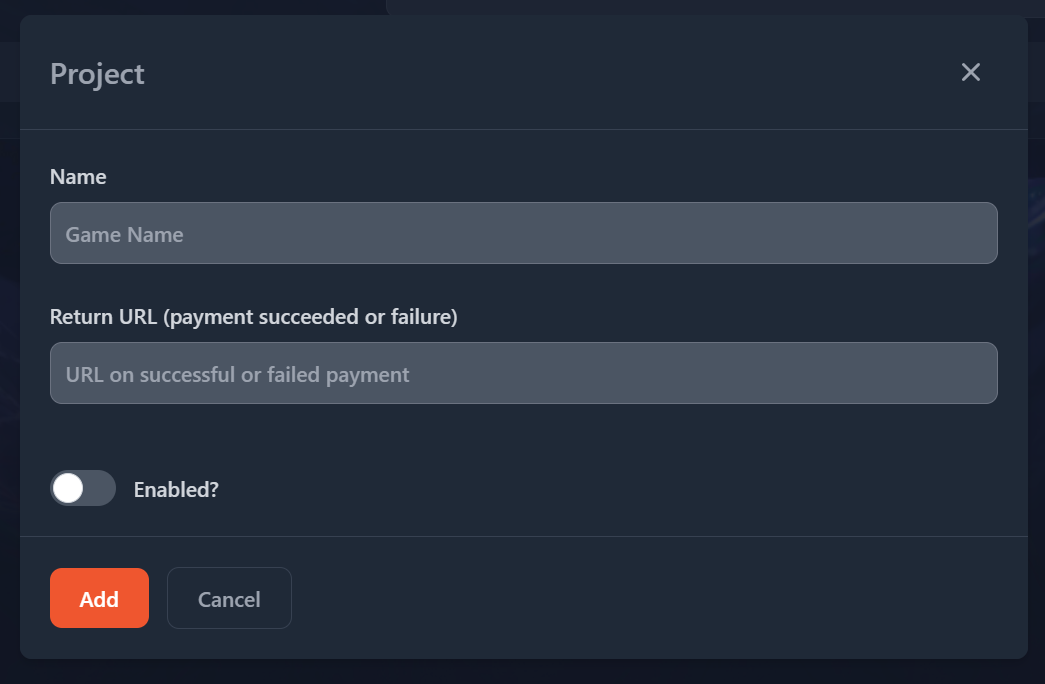 * Name: Will be the name of your project
* Return URL: You can define a customer
URL you want to point Payingame to once a payment has been succeeded or not. This
is not mandatory.
* Enabled: You can disable or enable your project at any time. It will block payments if its disabled.
* Name: Will be the name of your project
* Return URL: You can define a customer
URL you want to point Payingame to once a payment has been succeeded or not. This
is not mandatory.
* Enabled: You can disable or enable your project at any time. It will block payments if its disabled.